Monday, November 12, 2012

Really good pot roast cooked in the oven

It got chilly yesterday!! I do not like the cold weather at all, but I sure do love the good hearty wintertime dinners.

Last night I made another of my REALLY good roasts and I thought I would share the recipe.

I rarely cook my pot roasts in a crock pot, because it makes the potatoes and carrots all mushy and everything ends up tasting the same. Cooking the roast in the oven is just so much better.

Here is my recipe for REALLY GOOD ROAST:

My measurements are not exact, use more or less according to your taste.

I used a Pikes Peak roast for this meal, which is also called a bottom round roast. This is actually the toughest of all of the roasts, but I made mine juicy and fork tender. I also use chuck roast or any other type of roast for this recipe. It really doesn't matter which type of roast you use. They all work fine, some take more time to cook than others.

I always start my roasts by braising them first. The flavor is so worth this extra step.

Heat a few tablespoons of oil on med-high heat and brown the roast quickly on all sides. I use 2 forks to hold my roast up while I braise the skinny sides.

The roast should only take 2-3 minutes per side to braise.


After braising, transfer the roast to a glass or other oven proof casserole type dish.


Now, cut up an onion, I use largish chunks


And throw the onion chunks into the same pan you just took the meat out of. I only fry up my onion chunks about half way to transparency. This gives the roast a lot of flavor


Throw the onion chunks on top of your roast in the casserole dish.


For the liquid, I usually use beef bullion mixed with water. I use a lot of bullion, usually about 2 or 3 heaping tablespoons mixed with 3 or 4 cups of very hot water.


You can also use beef broth.


Add a tablespoon or two of Worchestershire sauce


I use this minced garlic in a jar. A half tablespoon is good, use more if you like more garlic flavor.


 And salt and pepper


This is my roast before it went in the oven:


Cover with a lid, or tin foil and bake at 325 degrees for several hours.

The lower tamp, plus the long cooking time will make this roast so tender!!!

I made a 3-4 pound roast last night, and it took about 3.5 hours of total cooking time to get the roast tender. Of course smaller roasts take less time. 

Jack is the roast superviser


After about 1 and a half hours of cooking time, check on the roast to make sure there is still enough liquid. I like to keep the liquid about halfway up the pan. Add more beef broth or bullion/water if necessary. You can also add more Worchestershire sauce and salt and pepper too.


You will know your roast is getting close to done when you can use a fork to begin to pull it apart in the pan. Just try to pull on a corner or edge. 
If your roast will pull apart with a fork, but yet still a bit firm, keep cooking it.  


I add my carrots about an hour before the roast will be done, and I add the potatoes and green beans about 30 minutes before the roast is done. The picture above was taken just after I threw in my potatoes and green beans. You can't really see the carrots, but they are in there, under the potatoes.  Don't forget to put the lid or tinfoil back on to finish cooking.


Keep checking with your fork, when the roast pulls apart easily, it's dinner-time!!!

OH YUM!!!! Perfect again!!!


Wednesday, November 7, 2012

I won a candle!!

I'm a little excited, I WON SOMETHING!!!!

I entered a contest on a blog, and I won a 16 oz American Heirloom jar candle!!! The candle was made by a company called Goose Creek. I've never heard of them, but I like their candles. (Especially since they sent mine for free!)


The blog I won the candle from is written by Ashley, and her blog is called "Domestic Imperfection"
You can find her blog here if you want to check it out.


I got to pick my scent for the candle I won, and I picked PATCHOULI. Mmmmmm it smells so good, and a sweet reminder of my hippy days. It smells woodsy with a hint of sweet.

I love free stuff! Thanks, Ashley & Goose Creek! You made my day. 

Tuesday, November 6, 2012

Turning a hallway closet into a kitchen pantry - Part 1

There is a little storage closet in our hallway, just off the kitchen. It's a strange little closet, it doesn't go all the way to the floor because the stairs to the basement are directly behind it.

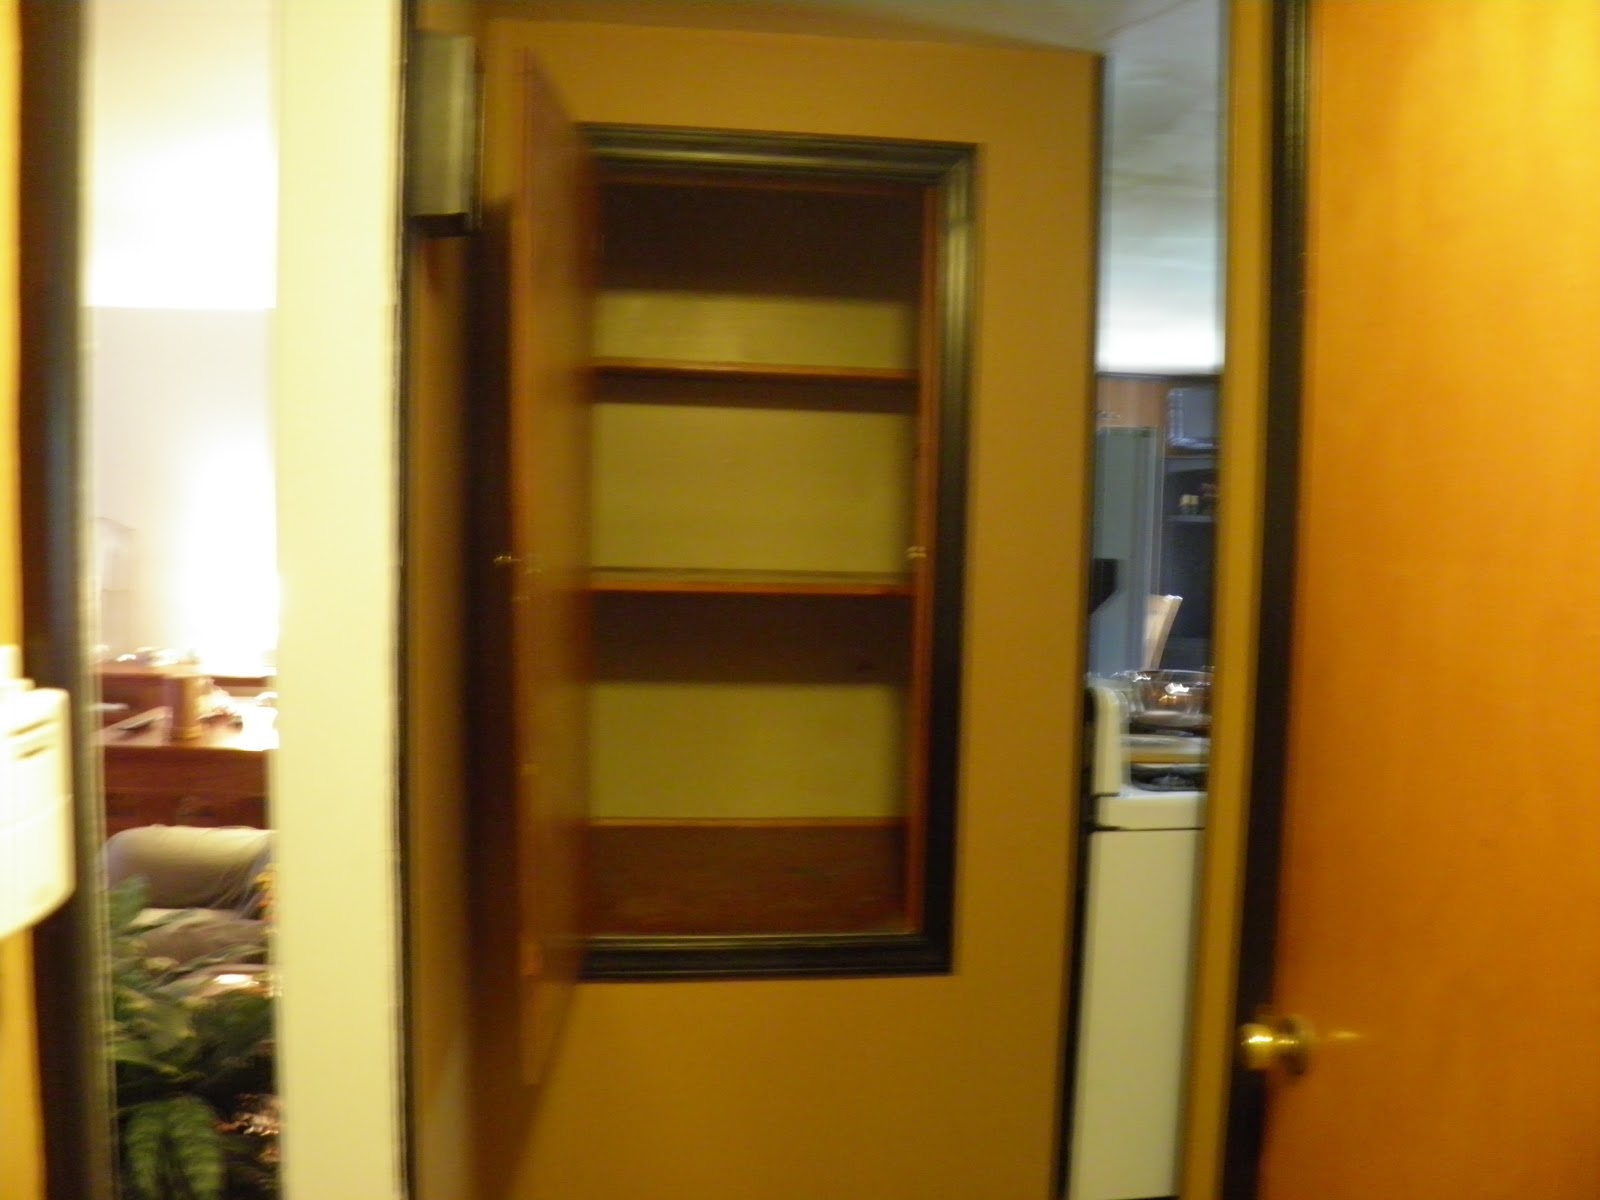
This is how the outside of the closet has looked for the last 4 years. I had painted the trim around the closet door black to match the rest of the house trim, but I wasn't sure if I wanted to paint the doors so I left them.


The closet has been well used for the last 4 years. Mostly, I have been using it to store my ebay stuff, my jewelry making stuff and my sewing stuff. It was quite a pain to get things in and out of the closet as I wanted to use them, and then I would have to put everything away when I was done.

Now that my son Chris has moved out of the house, I get to make his bedroom into a craft/sewing/jewelry/Ebay room. I'm really excited to have a better place to keep my things. I decided this closet is close enough to the kitchen to become a pantry for our food.

Here is a picture I took last year, when my storage closet was extra full. Usually it wasn't this full, but we had done a lot of moving things around when both my son and my daughter were living with us. Storage space was limited, so this closet got stuffed with a lot of things I had no where else to store.
Stuffed and spilling out onto the floor!


And now it's empty, and ready to be turned into a pantry.


The access to the attic is in the ceiling of the closet.

Here is my son Chris, pulling out the shelves and the bars that held the shelves.


Progress! I don't think anyone has done a thing to this closet since the day it was built in 1952. It was overdue for a makeover.
The wall paint was a kind of tan-green color.


There were a few minor repairs that had to be done to the walls inside the closet. I patched this hole up with the same stuff I use to fill the nail holes in my walls. The hole was about the size of a golf ball. There are better ways to patch a hole (mud and tape) but I just wanted a quick repair.


After my patchwork was dry, I painted the inside of the closet white. It took about 3 coats to get it all covered.


For several weeks, I was trying to come up with a way to decorate the panrty, and I got some really good ideas off of some other blogs I read.

One decorating blogger had re-done her pantry recently and she used a quatrefoil stencil for her walls. I really loved the idea, and I wanted to do the same.

I can't show you that particular bloggers pantry here because when I went to her page to post a link, I read her disclaimer says she doesn't want anyone using her pictures or blog content without permission first.

If you want to go to her blog to see her finished pantry, she is located at thehouseofsmiths.com and you can use her blog search feature to find her finished pantry pictures. She did a really good job with her pantry, and I wanted to use a few of her ideas and adapt them to my pantry.

Since I failed to ask her for permission before today, (and I don't want to wait for her permission), I'll just post a random web picture of the quatrefiol design she used to stencil her walls.


web image


I prepared to stencil my new pantry with a quatrefoil design, but then I decided stenciling my entire pantry might be a HUGE job. I have never worked with wall stencils before, unless you count the time I tried to stencil some simple animal shapes onto my twin neice and nephew's nursery walls when they were babies. That was a huge failure, with paint globs under the stencil, uneven lines that should have been crisp........ever since then I have been very afraid of wall stencils.

Just as I was going to give up and leave my pantry walls bare plain white, I read this blog post from a gal named Tabatha: The Stripefication of The Foyer

Tabatha was in the process of putting stripes on her stairwell walls, and I thought this was the PERFECT idea for my pantry!!! STRIPES!!!!

I actually have already thanked Tabatha for giving me the idea, and asked her permission in an email a few weeks ago to share her idea on my blog. Tabatha is awesome and she agreed that I can share. She has given me some amazing advice with my decorating in the last 6 months or so (she actually answers me when I email her with a decorating question!) If you have a chance to check out her blog, please do. I love her decorating style, and she is really a nice person too.

PS~ If you go to her blog, be sure to check out her newly decorated black master bathroom with a red claw foot tub. Her bathroom is gorgeous!!! Here is the link to her Master bath post:
Monster Project: The Master Bathroom FINISHED!


OK, back to my pantry..........After I got the idea from Tabatha to use stripes, I decided to ditch the quatrefoil design and use a combination of stripes and stenciling for the pantry walls.

I came up with the general idea of how I could make the stripes and the stencil work together, and I went to work taping off my walls for the stripes.


Then I painted every other stripe gray.


After I pulled off the tape, I had my basic stripe design!!!


I had to do a little damage control here. The closet walls are smooth, and I don't think I gave my white wall paint enough time to cure before I applied the tape. Note to self: let the wall paint dry overnight before applying tape!

No big deal, I just repainted the white wall color, and touched up the stripes. It really doesn't have to be perfect, after all.......it's a closet!!! Most of the walls won't be seen after we add the shelves back in and fill the pantry with food.

Stay tuned for Part 2 of my pantry re-do, coming soon. At this point I have most of the stenciling done. It looks good, if I do say so myself!

We still need to add linoleum or some type of covering for the floor of the closet, more shelves, a spice rack, and bins for my potatoes, etc......

Since I need Tim's help with some of the bigger stuff, like the shelves and the linoleum, it may be a week or two before I get to the finish point. Hopefully he will have some time this weekend to help me.


Thursday, November 1, 2012

10 Months and Counting

My cruise countdown is ON!!!

I'm leaving in exactly 10 MONTHS from today!!!!

That sounds like a long time from now, but it will go by fast (I hope). There is so much planning that still has to be done. Christina and I still haven't settled on which Spa/Resort we want to go to after the cruise, we still haven't decided if we are all flying into Ft Lauderdale or Miami, and I have to look into limo companies and book our transportation. I know there are cheaper ways to get around Miami, but I'm not going cheap on this trip. That is another reason why I need every bit of this 10 months to SAVE up for everything. I'm pretty sure this vacation will cost me a small fortune.


In 10 months, I'll be here:


And I'll be here:


The black arrow is pointing to my huge aft-wrap balcony cabin!!

I'm so excited about this cabin!!!


We also have a lot of planning to do for the islands we are visiting. The only island I have figured out so far is Half Moon Cay.
I'm still working on making plans for Grand Turk, Nassau, Jamaica and Grand Cayman.

This week, I'm working on my plans for Grand Turk. The last time Tim and I were in Grand Turk, we rented a golf cart and explored. It was really fun and we got a good feel for the island. We also found a geo-cache while we were there.

This time I will be visiting Grand Turk with my sister and 2 of my kids. None of them have ever been to Grand Turk. My kids have never been out of the USA!!  

I had originally just planned to just take them all to the beach (maybe Jack's Shack??) and just hang out for the day. Now I am wondering if we should rent another golf cart so my kids and sister can see more of Grand Turk than just the beach.

My kids like to geo-cache too, and there are a few more caches on the island that Tim and I didn't look for when we were there.

Decisions, decisions!!


In November and December, I am hoping to get both legs of my cruise paid off.

In February and March, I'll get our plane tickets booked. I want to wait until the bookings for Southwest Airlines open up. Sometimes Southwest has direct flights from Kansas City to Miami. It would be amazing  NOT having a layover.

In April, we will finalize all of the hotel reservations.

I'll keep you all posted on my cruise plans...........


In case you missed my last posts about this cruise, the itinerary, and who I'm cruising with......you can find them HERE and HERE.


Thursday, October 25, 2012

Living room redo - looking better and better

I have to admit the last pictures I posted of our living room re-do were pitiful.

If you missed my last post, you can see them here.

As promised, here are some much better pictures of how our living room is coming along:

The wall color is called "classic silver".
The trim color is white semi-gloss.


The room loks a little more filled in this week. I have slowly been bringing things in like throw blankets, pillows and knick-knacks.
It's taking me a little longer than I planned to get pictures hung on the walls.


The TV will eventually be hung on the wall above where you see it now. We are waiting to find a good price on the hanger thing for it. We were hoping to find a hanger for $50.00 or less, but the one that fits our TV is $85.00 (YIKES!). We'll keep looking and hopefully find something reasonable.


Standing by the TV, this half of the room needs a lot more work.

There are grey sheets on our furniture. I know the sheets are tacky, but it's much better than what is underneath!!!

Eventually we will replace the furniture with a new love seat and chair, or buy some "real" furniture covers.


I covered the big ottoman, although it needs to be re-done using a material that does not collect dog hair. Some of the softer materials seem to be worse than others with the dog hair. We have two of the most shedding-est dogs EVER!!!


A close up of the big ottoman:
Excuse the dog hair, it's a fact of life at our house.


The throw pillows.........I made them myself..............by hand!!! I was too lazy to get my sewing maching out, so I hand stitched them all.


This turquiose and black pillow is one of my favorites. It's my first quilt-block I ever made, and I hand stiched the entire thing. I am very proud of this pillow. Although you can't tell in the photo, this pillow is very close to perfect as far as the stitching goes. All of my corners met up perfectly. (If you sew, you know it is a great moment when your corners line up perfectly!!)


I usually make my curtains myself, but this time Tim and I went to Target to see what they had. I was looking for something bright to add some color to the room, but Tim found these, and I think they are perfect! The color is a darker gray, so they do stand out a bit. They aren't as bright as I would have liked so I guess I will have to add color to the room in other places.

They are a little bit see-through. I may add some material to the back to make them more opaque.
It took 4 pannels to cover the entire window.


A close up of the design on the curtains. I love them!


I also recovered this stool:


And now it looks like this:
A little blurry, but you get the idea. How's this for a little color???

The stool was a garage sale find from a year or two ago. Here is the post I made about it when I first got it and recovered it.


The carpet in the living room has been removed. It was really a giant rug that Tim's granny gave us when we moved in. It was getting stained and smelly, and I was tired of it.
We are on the hunt for a rug for the room, hopefully something with bright colors.

The floors in the living room and hallway both really need to be re-done. They look pretty bad. I'm also not crazy about the orangy color of the hard wood.  Tim and I have talked about sanding and staining them ourselves, or getting lamanate snap-together floors and installing it on top of the hard wood.

I think we have ourselves talked into the laminate floors, because neither of us has the energy to sand and stain (and repair) the existing floor. Either way it will be a huge job. I'll post about it when we get to that point. For now, we think a big 10X12 rug will help.

A pic of my orangy 1952 hardwood floor:


Did you notice THIS????


This is an old watch-makers bench that belonged to Timmy's grandpa. It's really awesome!!
Tim's grandpa died a long time ago (I think back in the 80's) and his watch-makers bench was given to Tim when he died. It's been in Tim's moms house for all of these years.
Tim's mom is getting ready to move, so the bench got to come live with us.

Tim was realy excited to see this watch-makers bench get moved to our house. He has childhood memories of his grandpa working at this bench. Tim was the oldest grandchild, and he was really close to his grandpa.

I really love it. It's my new pride and joy. I hope I can take as good of care of it as my mother-in-law has for the last 30+ years. It's really a nice piece, and it looks great in our living room.


There are still old tools in the drawers!!!


I put a fake plant inside for now, and the TV needs to be hung on the wall.
That cube shelf thing is only there temporarily. I had nowhere to put the DVR box, so I had to find something. When we hang the TV, we will figure out a better plan for the DVR box and DVD's.


From here, I need to inject COLOR into my living room. I'm not exactly sure how I'll do that, but I'm working on a few ideas. When we hang the shelves, and pictures on the walls, it should brighten up the room a lot too.

I'm not quite sure where I'm heading, but I love it so far!!


Here is a quick before and after of the living room:

BEFORE:


AFTER:


BEFORE:

AFTER:


There is quite a difference between the two.
I have to admit I loved my living room the "old" way, It was very cozy and homey with the darker color on the walls. But I also really love the new color too!! It's nice to have a fresh palate to work with, and I'm having a lot of fun with the decorating.

I'll keep you posted as we continue on!