Monday, June 18, 2012

Room de-do: Storage room to bedroom in 2 months

Up until a few months ago, my daughter Cody had been living in Ohio for over a year and I was really missing her.
She was missing Kansas City too, and last February she asked if she could move in with Tim and I while she gets on her feet.

This is my favorite recent pic of Cody. She's 21 now (unbelievable!):


Our house only has 2 bedrooms upstairs. Of course, Tim and I are in one of them and we have a 23 year old taking residency in the other (my youngest son). The only place we could put Cody is in the little bedroom downstairs that Tim had built. I've been using the room as a storage room for several years and it was FULL!!
Cody wanted to come in about 6 weeks. I had a lot of work to do in a short time.


Not only was this room cram-packed with "stuff", but the walls were painted red.


The reason the walls were red was because Tim's son Patrick was going to move into this room when we first bought the house about 4 years ago. He chose red for his wall color, so Tim painted red.
In the end, Patrick decided not to move in, and the room became my storage room. I never bothered to paint over the red walls, so it's been red for a while now.

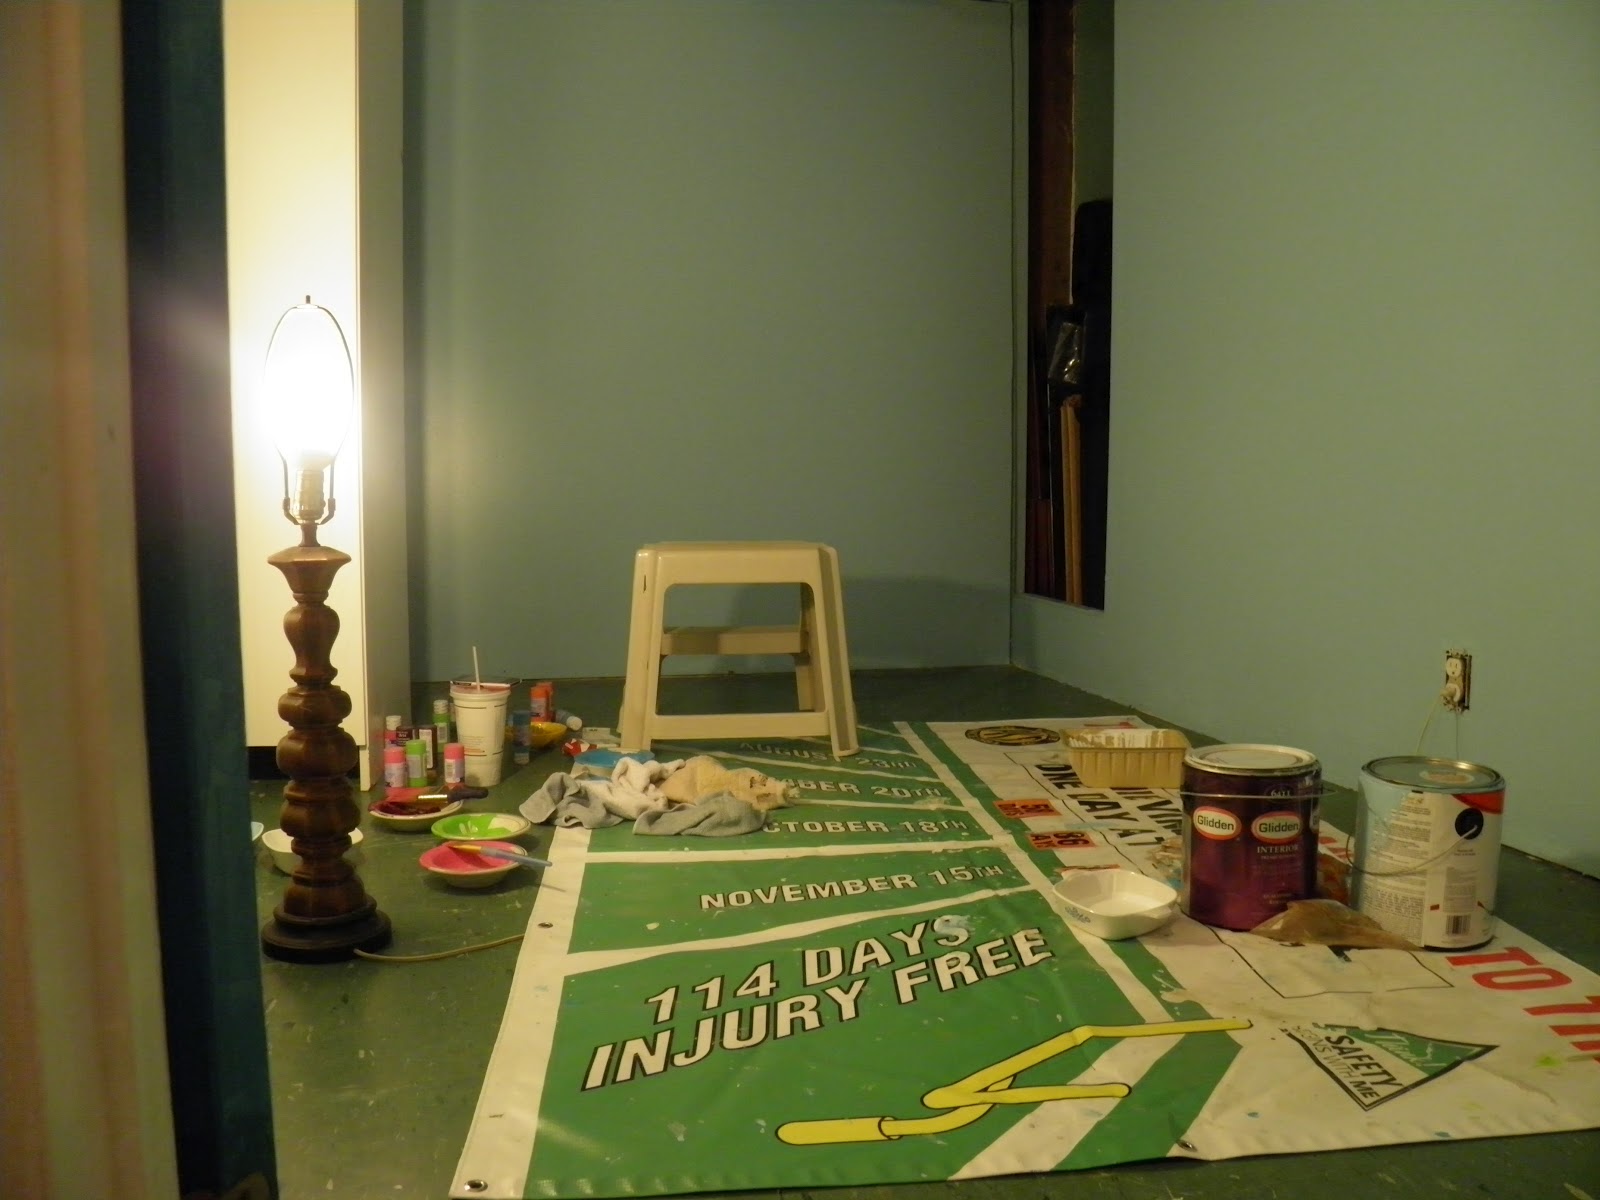
It's not a very big room, it's about 10' X 12'


So I went to work emptying the storage room.
I really didn't have anywhere to move all of this stuff, so I sorted, purged, gave stuff away, and made a garage sale pile.
It took about 3 weeks to empty the room.
- The blurry pics came from my iphone-


And then it was time to cover up that red paint!
It took about 4 coats of Kilz to cover the red completely.


And now for some color!
The rest of our house is decorated in earth tones, but someone had given us some dark blue carpet squares. We wanted to use them because they were free. We decided to go with a light blue color for the walls. (the football-looking thing on the floor is just an old sign we use for a painting dropcloth)

Such a difference with the blue walls!


We really felt that since this was a basement room, we needed to perk it up with even more color. We didn't want it to feel like a basement room.

Tim and I took a trip to Target and picked out this bedding set for Cody. We bought her the pink sheets too!
Then I took one of the colored pillowcases to Michael's Arts & Crafts and I bought some craft paints that matched the colors in the bedding.

I used these colors to paint the duct work on the ceiling.
The really dark color is purple. It came out a little dark in these pics.


The pole and the ductwork trim pieces are bright pink, the same color as the sheets we bought for Cody's bed.


I spent about 2 weeks painting the room. Four coats of Kilz, three coats of blue. I put coats of paint on before work in the mornings, after work, and at all hours of the night. I spent A LOT of time in that room.

The whole family pitched in to help. Here is my son Allen putting a coat of paint on the back of Cody's door.


Finally, the painting was done, and we went to work laying the carpet.
Here is my son Chris laying carpet.


Then came the fun part! The decorating!
This time I took the pillowcase Joanne Fabric & Crafts and I bought some coordinating material.
I wanted to make some throw pillows for her bed, curtains for the ugly window, and a curtain to cover up the "closet". You can see the closet in the pictures above.

Really, the closet is just a gaping hole that leads to a small area under the stairs. There is a light in there and a bar to hang clothes, so technically it really is a closet.
Its a creepy closet though, and I didn't think Cody would want to put her things in there. Tim doesn't want to cover up the entrance to the closet with drywall because the closet is what qualifies this basement room to actually be a 3rd bedroom in our home. (Before Tim built this bedroom, it had been an open area that was  part of our giant laundry room. More on that in another post).
In the end I used a big piece of the pink material to make a curtain for the closet opening. Right now I'm storing our coolers and suitcases in there. The bright pink curtain sure adds more color to the room.


For her closet, Cody is using the white cabinets that were already in the room. Here is a pic of the cabinets (there are 2 of them in the room)


I'll be back with the pictures of how Cody's room looks now that it's finished, or mostly finished. We still have a few decorating details to add.

It turned out to be a really nice little bedroom for Cody. She's been here 2 months and she LOVES her room!

Thursday, June 14, 2012

Screened porch update

We weren't planning to re-do the screened porch for a few years yet, but somehow it ended up on top of the list of projects for this summer.

I'll give you the quick version of how I got a new screened porch:
I wanted to plant some flowers in front of my big livingroom window. If you were reading my bloggy last fall, you may remember when we tore out the huge ugly bush from the front of the house.

Here is a pic of the ugly bush:


And a shot of Timmy removing the bush last fall:


Finally, the bush was GONE!!!


We left it like that over the winter, and I really wanted to plant colorful flowers in that spot under the big window. No big deal, right??

Wrong.

I told Tim back in February that I was planning to plant flowers and if he wanted to paint the house this year, could we please do it BEFORE the flowers get planted. I didn't want my flowers to be trampled, or sprayed with paint.

Tim said it was fine to paint the house, we both agree the gray color makes the house look drab and dull.

He also said he would like to replace the screened in porch boards before we paint the house. He noticed they were beginning to rot. Personally, I would have just painted the rotting boards, and replaced them later. But Timmy said they really needed to be replaced before we paint.

At that point, I was ready to wait until NEXT year to replace boards, paint the house and plant my flowers. We already had a few inside projects going on, and I wasn't prepared for porch construction yet.

This is the screened porch as it looked last summer. The boards that needed to be replaced were the thin horizontal boards - shown here just above the top of the chair. Also, all of the thin vertical posts and the corner posts needed to be replaced.


My Timmy is not one to put things off. Within 2 weeks he had talked to our neighbor-friend who has a home remodeling business and asked for an estimate.

The estimate came back at $1700.00
YIKES!!
Really, all I wanted to do was plant flowers in front of my house. Now we are looking at $1700.00 for a few porch boards?? Apparently, I have a lot to learn about how the corner posts actually hold up the roof, and replacing those was a pretty big deal.


Fast forward to May, and we were getting ready for construction.


We emptied the porch.
View from inside the kitchen:


Everything from the concrete floor to the roof line had to be replaced, including all of the screen:


See the doggie door beside the screen door? We need a better plan for that.
The open dog door also lets bugs in.


And the rotting wood was worse than I had really thought:


In the end of May the construction began.


We had to go ahead pick the house color and the trim color that we are planning to paint the house. The new porch boards are being painted in creamy beige. This will be the trim color of the house. The actual house color will be a light sage green.


Of course, as the old porch was torn down, we found that part of the actual house on the north side was rotting away. There is a problem with the way that porch roof is connected to the house. Somehow, water is getting under the roof shingles and under the shingles on the side of the house. It looks like we have more work to do on that side of the house now.

Oh goody.

But back to the porch, it took about 3 weeks and we now have our new and improved screened porch. We still have a long way to go before we can call this porch finished, but it does look much better.

 The posts look un-evenly spaced for a reason. Eventually there will be a front porch added to the front of the house. The wider area you see behind the pink chair will have a doorway going from the screened porch to the front porch.


Eventually we will get indoor/outdoor carpeting or some sort of floor treatment to cover the concrete. The ceiling needs to be scraped and painted, and we need a ceiling fan.

The gray wall will eventually be painted sage green when we paint the house.
Those big shades were given to us by a neighbor. They work fine for now to give us a little privacy, but they will eventually come down. I'm not sure what I want to replace them with, but I have a few ideas brewing.

And after all that, we need patio furniture. I would like some sort of love seat or chaise lounge with a lot of pillows.

The other side of the porch still needs some work too.
We have a new and improved doggie door, and a new screen door too! This door will have a new coat of paint by the time summer is over. I like the way it looks like a gate on the bottom half.


And the part I didn't like; we had to replace our back door. Our old door was wood. It was a heavy door and I liked it.

This door is not wood and I haven't grown to love it yet. A coat of paint and some curtains should help. I'm working on that.


I'll keep you updated as we make more changes to the porch.
For now, here is a before and after (well, maybe a "before" and an "in-progress")


BEFORE:


IN PROGRESS:


oh, and before I go.......here is a shot of the outside.