Back in May, I started my kitchen makeover. I have had a couple of set-backs, which is why it took 2 months, but it's finally painted!
WE LOVE IT!!! It was worth all the time and trouble.
Going back in time, this is what the kitchen looked like in 2008 when we moved in.
Oh My! Can I draw your attention to the PINK counter-tops and back splash?
We have come a long way from here.
Our original kitchen:
Within a few months of moving in, I had to cover up those ugly pine cabinets. I decided to use black as my base color and then add a splash of color to the kitchen. I absolutely LOVED the black cabinets.
Here is how it turned out:
Please excuse the stuffed chair in the kitchen, I must have been painting the living room when this one was taken.
You can see the new countertop and cabinets that Tim installed between the stove and the fridge.
Just looking at those pictures makes me a little sad. I really loved the way my kitchen looked. It was comfortable and cozy.
My problem with this kitchen color scheme was the other half of the kitchen, which still had knotty pine walls and did not match this half of the room. I couldn't get the 2 halves of the kitchen to go together and I just needed to start over. I'll get to the other half of the kitchen in a minute.
By early May, I came up with a new color scheme from reading other peoples decorating blogs. Ashley from
www.domesticimperfection.com had painted her upper and lower cabinets two different colors, and I liked the look.
After I cleared my new color scheme idea with Tim, I went to work. He pretty much gives me free reign over the decorating of the house, but he has veto power over any idea he hates.
I covered everything with plastic and started with painting the ceiling. It was BAD!! We don't have a stove hood so the ceiling was pretty yellow and even brown in some places. I have no idea when it was last painted, maybe back in the 80's when the house was last redecorated?
This ceiling was one of my set-backs. First of all, I HATE painting ceilings. It hurts my arms and my neck, and it's just no fun.
We bought a 5 gallon bucket of name brand ceiling paint, knowing we will be painting the ceilings of the entire house. I put two coats on, but the yellow and brown stains just kept coming through as it dried. UGH!!
So we bought some KILZ primer and I gave it two more coats. Later I came back through with the ceiling paint again making FIVE coats I had to put on this ceiling. I was not happy, and it's worse knowing it will just turn yellow again until we get a stove hood.
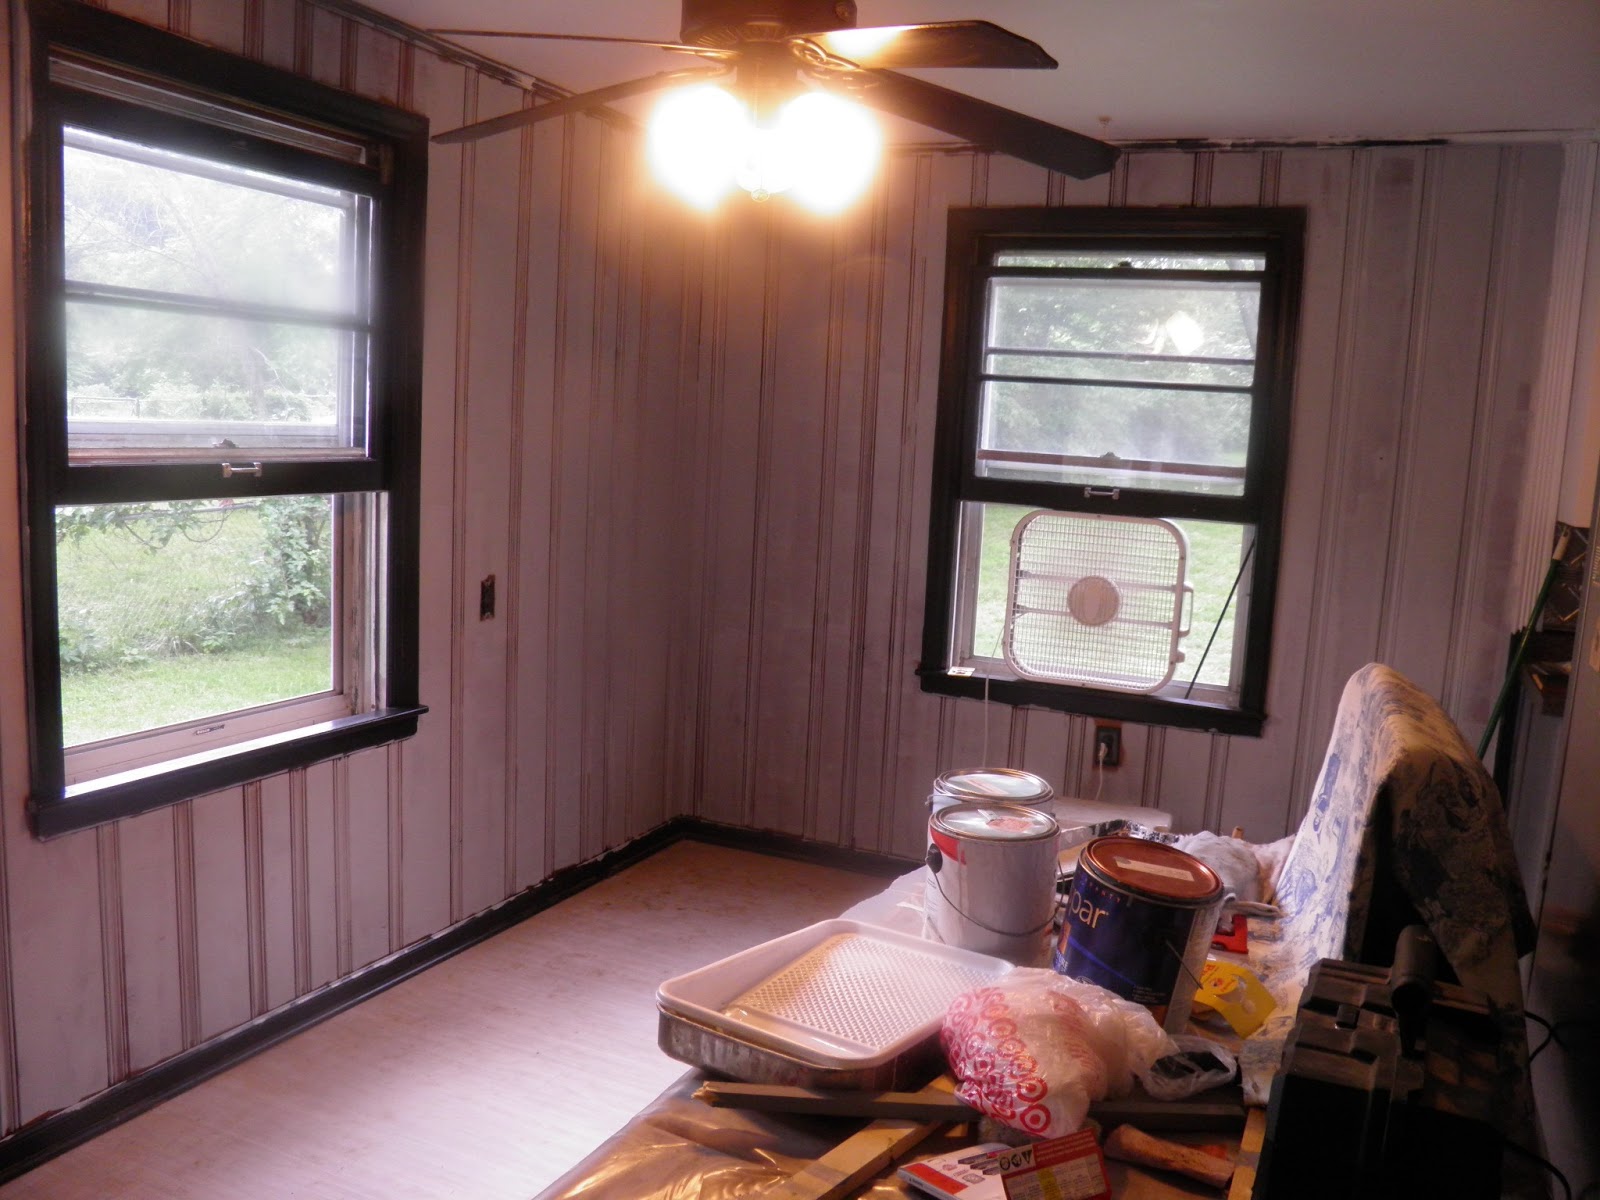
This pic was taken just before I started painting
In the middle of the painting madness.
I got this side mostly finished, and I started in on the knotty pine side of the kitchen.
Going back in time to 2008 again, here is the knotty pine in all it's glory:
I tried so hard to keep this knotty pine. It was really pretty.
Here is the kitchen after I painted the trim and window sills black, and added a few more black touches.
This is my favorite picture of this side of the room.
I liked it, but sadly the walls were so orange they really didn't go with our more modern look on the other half of the room. Believe me, I thought long and hard before I decided to paint those walls. Tim offered to remove the pine and replace it with drywall, but I thought it would be OK if we painted it for now.
First I had to sand all the walls and rough up the smooth and shiny pine.
Then I had to paint the ceiling. It took 3 coats.
Then the first coat of light gray paint went on the walls:
This is where I had another set-back. Some of the cracks between the pine slats were so big, it looked funny after it was painted.
We decided to use caulk and close some of the big gaps.
Between the ceiling, the sanding, and the caulking, this part of the room took a while to finish. Each step took forever.
One good thing, I learned how to use a caulking gun!
Look how good I caulk!
It made a big difference, and we were happy with the results. I was worried we were going to have to take out the pine after all, but the caulking saved the day.
Final coat of paint after caulking the cracks:
I continued on with my painting.
Everything that had been painted black took FOUR coats of paint to cover.
And finally...........The kitchen was finished!!! Well, the painting part was finished. There is still a lot to do in here, but the worst of it is over. Big sigh of relief.
The paint colors look great! It's very bright.
Tim and I both love the way it turned out.
After you look at the paint job, please notice my floor! I scrubbed that floor on my hands and knees with soap, and then I mopped it with pine-sol. That floor is so clean you could eat off it.
Here are some more pics of the room:
We still need door trim for the back door. We replaced the door last year and the trim couldn't be saved.
We also need to go buy some cover plates for the outlets and light switches.
Along with the painting of the walls, we had a few side projects to do.
We wanted to re-use our handles and locks for the windows. I took them off to paint the window trim, so Timmy gave them new life by spray painting them silver
They look brand new again! These are over 60 years old, they are original and were put in when the house was built.
I needed to get the upper cabinet doors painted. Again, four coats!
We also needed to paint this corner cabinet that holds our TV.
Coat 1..........
After coat 3............
And it's back in it's corner!
It was nice to bring some furniture back into the kitchen.
Excuse the sheets hanging on the windows, they are only temporary until we get the curtains.
Also, this a new table and chair set that we got from Tim's mom. This is the 4th table and chair set we have had and this set is staying. The table is the perfect size, and the chairs are comfortable.
Of course, I can't leave them as they are......I'll be refinishing the table and painting and recovering the chairs SOON!
Its a really nice parquet table top and it will be gorgeous again!
Before I go, here are some pictures that were just taken this morning. It's not really spectacular looking yet because I still have to put all my stuff back in, hang pictures, and make it look like people live here.
I'll keep posting kitchen updates as we get more done in here.