
The house numbers are gold colored plastic, and under them you can see where someone (previous owner?) had tried to glue the numbers on with orange glue.

BE-UUU-TI-FUL!!! What must the neighbors think of us?
Our house has looked like this since we moved in 3 years ago. I kept thinking we were going to paint the house, and this would be fixed. But then we got caught up in our Key West beach wedding planning and paying for our 2 week honeymoon cruise last May, and the house fixing stopped for a while.
Well, finally I had had enough of the drippy orange paint numbers and the ugly gold plastic. Last weekend I asked Tim to take me to Michael's Art's and Crafts for some supplies, and this is what we came back with:

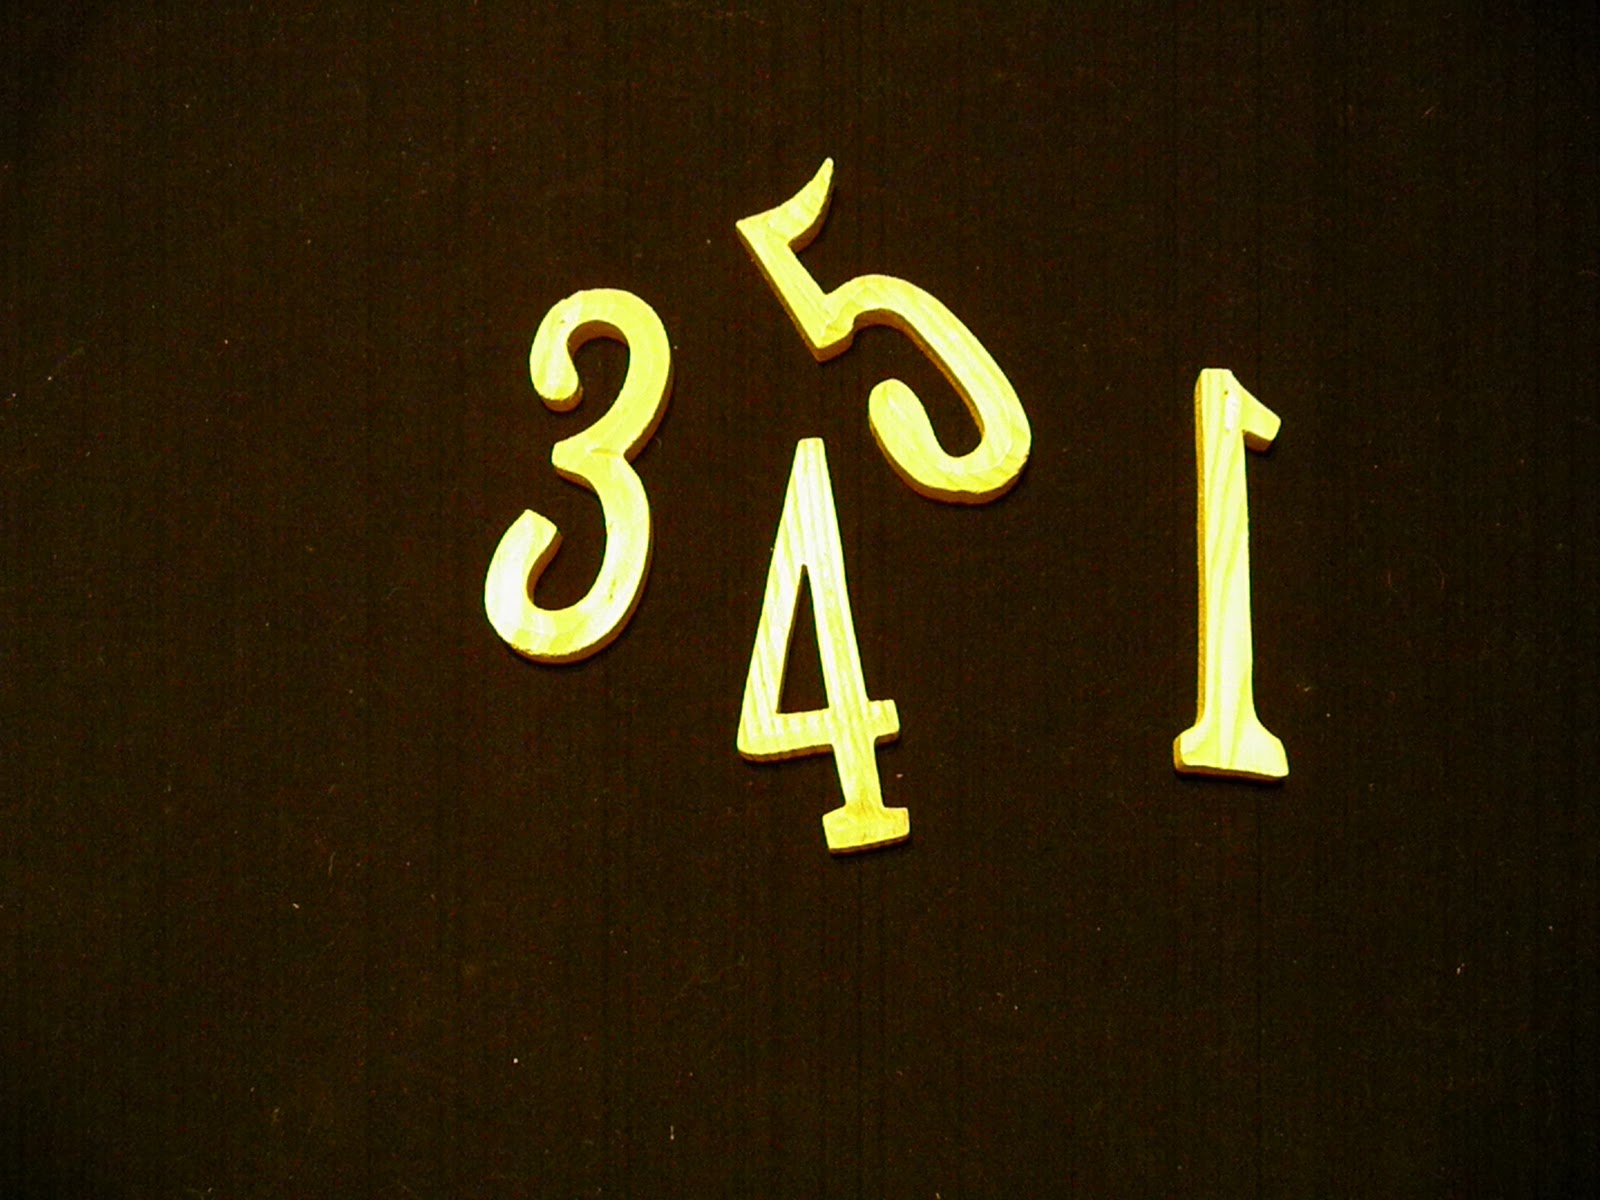
We found these in the wood section (yes, I see my 1 is backwards!) and I decided to paint them to match the color of the house as it is now. We plan to paint the house in the spring, but we thought it would look odd if we used the new color scheme on the numbers before we actually paint the house.
So I dug out my black paint, and I mixed it with some white to make a nice gray color. I painted everything and let it dry before I glued the numbers on the wooden piece.
Meanwhile, Tim went to work pulling the gold plastic numbers off the house. There isn't really anything we can do about the glue stains until we sand and paint the house

When everything was dry, Tim drilled holes and screwed our new numbers into place.


Then I had the bright idea to paint the mailbox too. Tim took it off the house for me and I went to work.
First I had Tim remove the 2 hook things that were hanging from the bottom. We don't get the newspaper delivered, and even if we did I'm sure the newspaper person wouldn't take the time to walk up to the house and hang it from the hooks on the mailbox. I'm pretty sure they just fling the papers while driving by in a van these days.
It looks much better without the hooks, you can see the difference below in the before/after pics.

After the mailbox was dry, we attached it back onto the house and we love the results! Such a quick little project, and at a cost of about $6.00, we think it looks so much better than it did before.
Here are the before/after pics:
BEFORE
AFTER
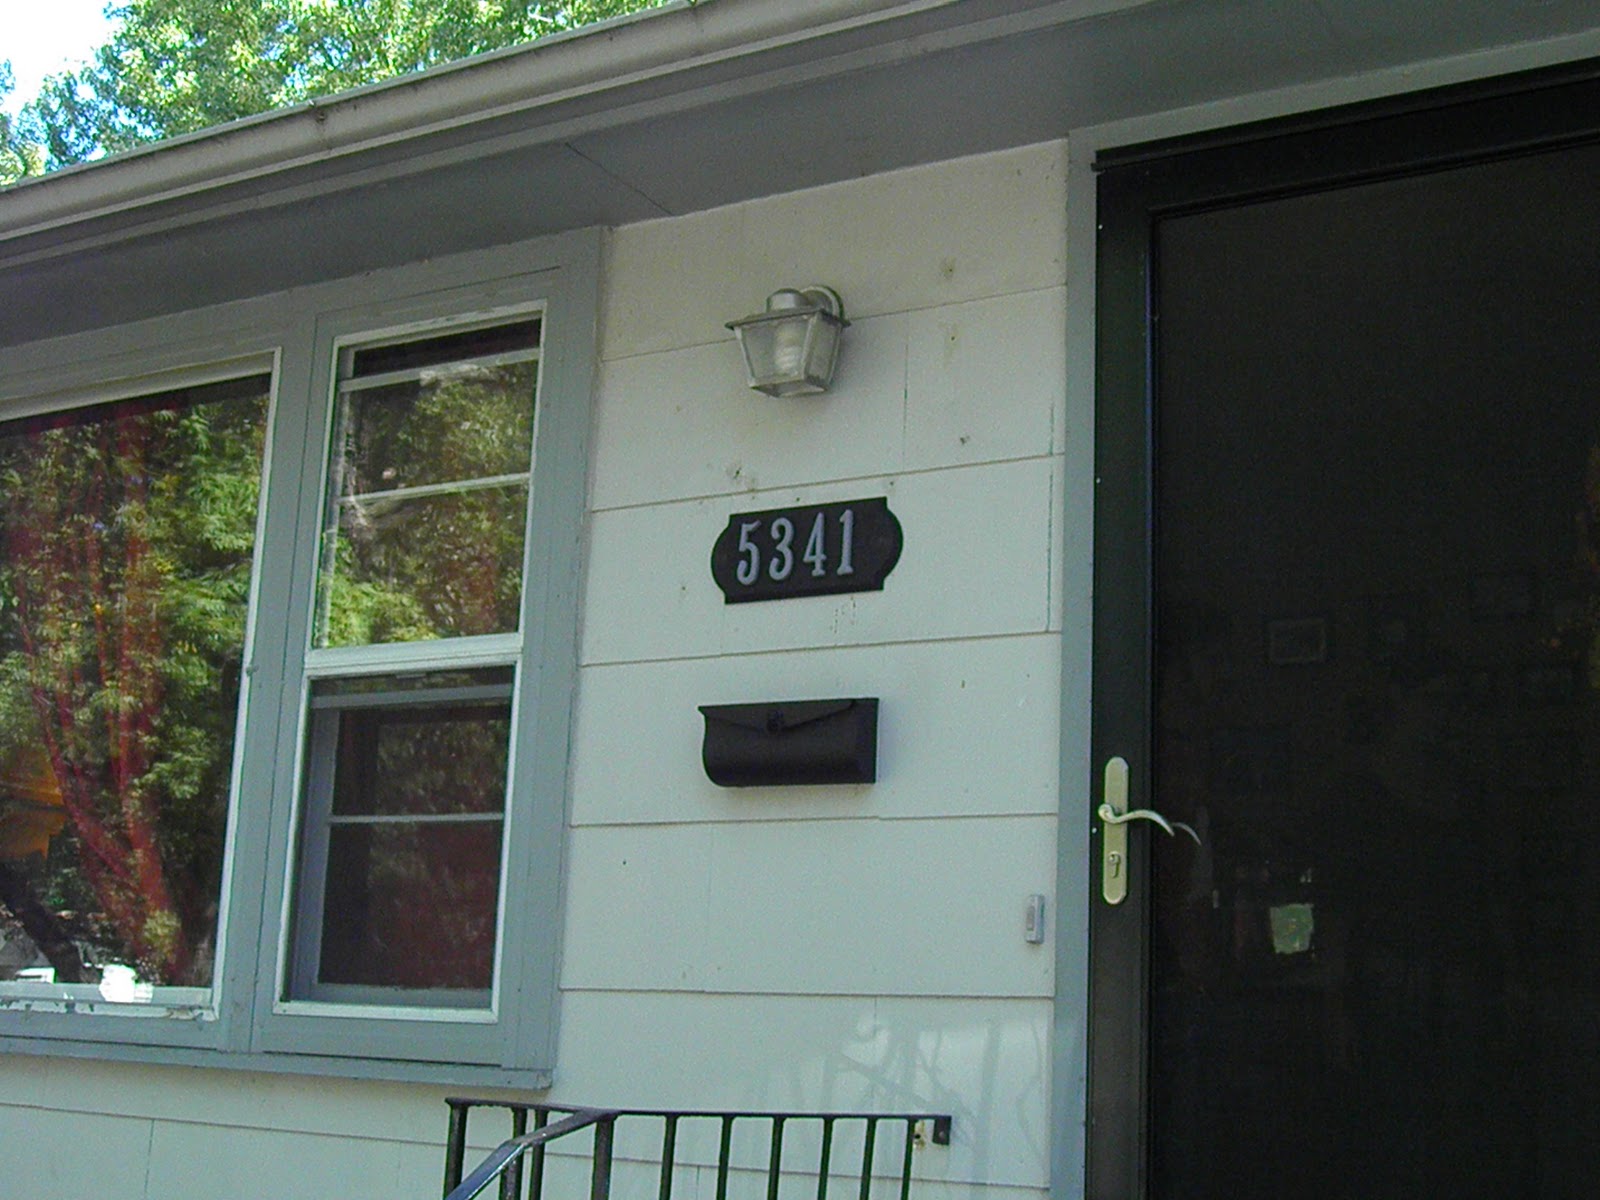

Quite an improvement.
I noticed 2 things:
1. The light needs to be painted black too. Not sure if I will do that since we plan to replace it in the spring when we paint the house.
2. The house is stained badly, I will be so happy when we paint!
More coming soon in a "wish list" post for the outside of the house.
No comments:
Post a Comment