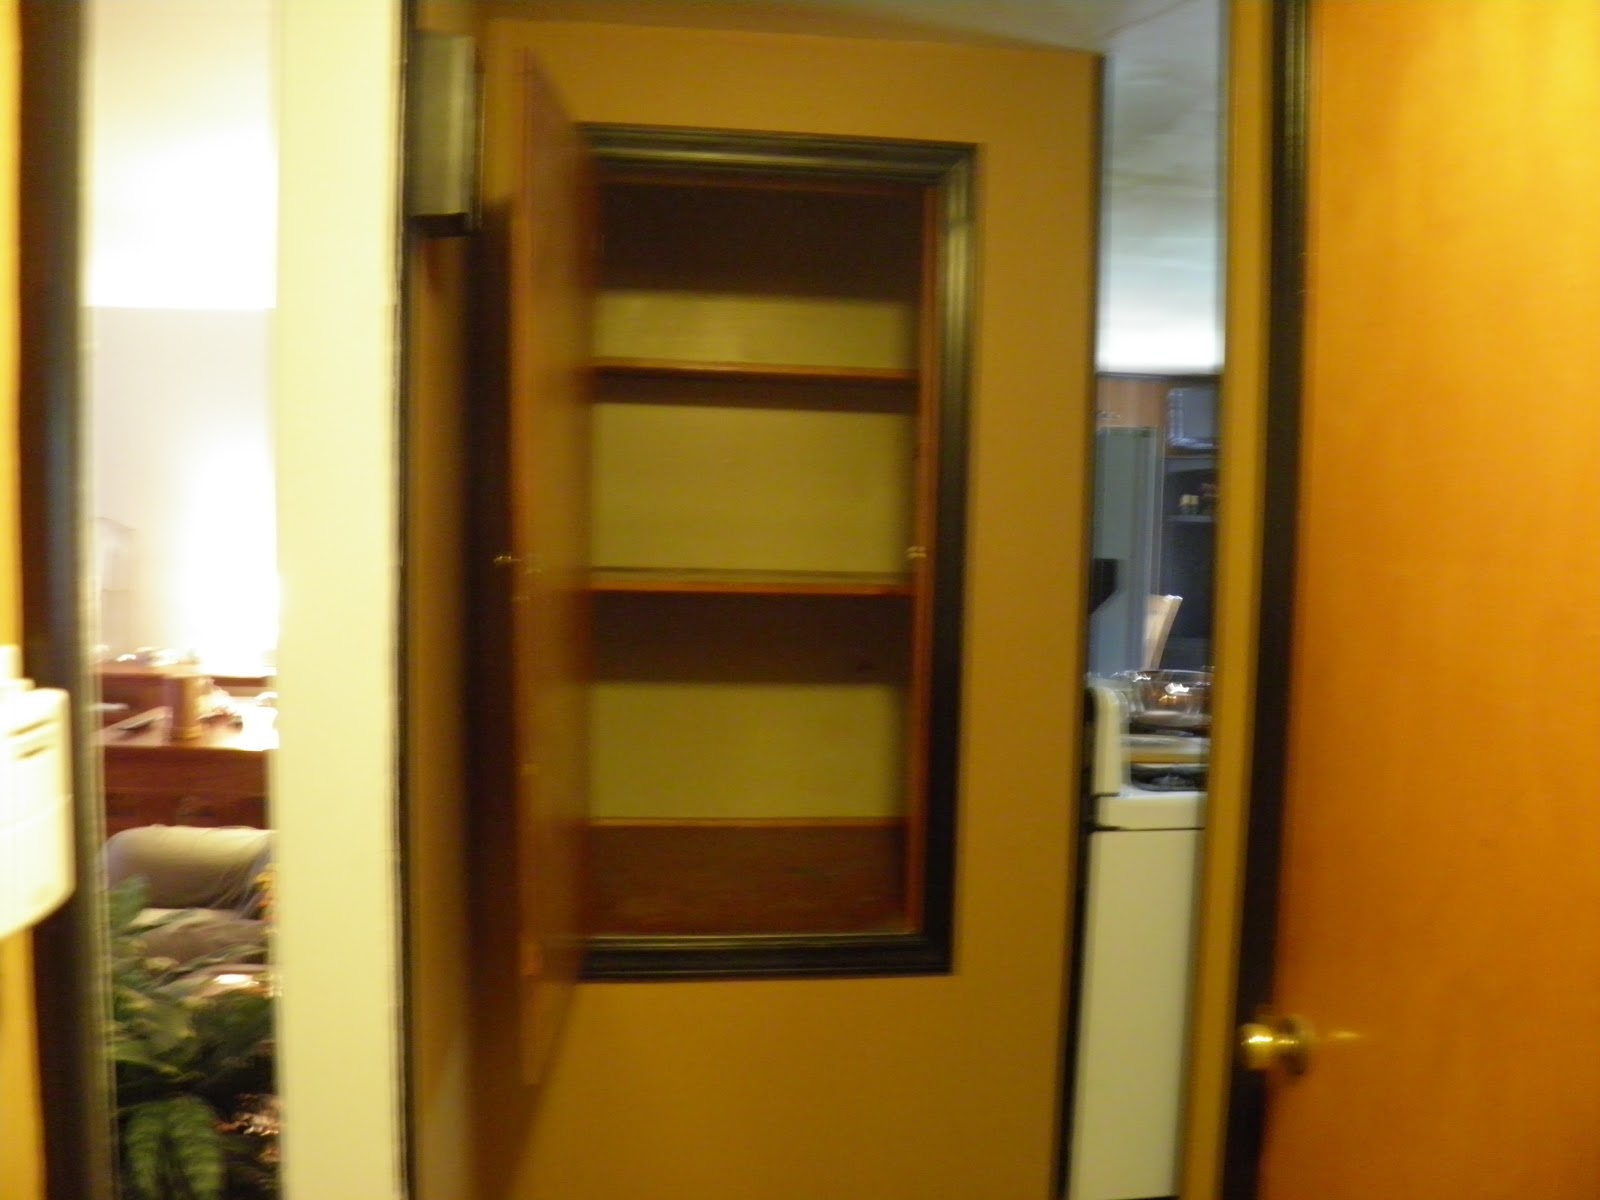
This is how the outside of the closet has looked for the last 4 years. I had painted the trim around the closet door black to match the rest of the house trim, but I wasn't sure if I wanted to paint the doors so I left them.

The closet has been well used for the last 4 years. Mostly, I have been using it to store my ebay stuff, my jewelry making stuff and my sewing stuff. It was quite a pain to get things in and out of the closet as I wanted to use them, and then I would have to put everything away when I was done.
Now that my son Chris has moved out of the house, I get to make his bedroom into a craft/sewing/jewelry/Ebay room. I'm really excited to have a better place to keep my things. I decided this closet is close enough to the kitchen to become a pantry for our food.
Here is a picture I took last year, when my storage closet was extra full. Usually it wasn't this full, but we had done a lot of moving things around when both my son and my daughter were living with us. Storage space was limited, so this closet got stuffed with a lot of things I had no where else to store.
Stuffed and spilling out onto the floor!

And now it's empty, and ready to be turned into a pantry.

The access to the attic is in the ceiling of the closet.

Here is my son Chris, pulling out the shelves and the bars that held the shelves.


Progress! I don't think anyone has done a thing to this closet since the day it was built in 1952. It was overdue for a makeover.
The wall paint was a kind of tan-green color.

There were a few minor repairs that had to be done to the walls inside the closet. I patched this hole up with the same stuff I use to fill the nail holes in my walls. The hole was about the size of a golf ball. There are better ways to patch a hole (mud and tape) but I just wanted a quick repair.

After my patchwork was dry, I painted the inside of the closet white. It took about 3 coats to get it all covered.

For several weeks, I was trying to come up with a way to decorate the panrty, and I got some really good ideas off of some other blogs I read.
One decorating blogger had re-done her pantry recently and she used a quatrefoil stencil for her walls. I really loved the idea, and I wanted to do the same.
I can't show you that particular bloggers pantry here because when I went to her page to post a link, I read her disclaimer says she doesn't want anyone using her pictures or blog content without permission first.
If you want to go to her blog to see her finished pantry, she is located at thehouseofsmiths.com and you can use her blog search feature to find her finished pantry pictures. She did a really good job with her pantry, and I wanted to use a few of her ideas and adapt them to my pantry.
Since I failed to ask her for permission before today, (and I don't want to wait for her permission), I'll just post a random web picture of the quatrefiol design she used to stencil her walls.

web image
Just as I was going to give up and leave my pantry walls bare plain white, I read this blog post from a gal named Tabatha: The Stripefication of The Foyer
Tabatha was in the process of putting stripes on her stairwell walls, and I thought this was the PERFECT idea for my pantry!!! STRIPES!!!!
I actually have already thanked Tabatha for giving me the idea, and asked her permission in an email a few weeks ago to share her idea on my blog. Tabatha is awesome and she agreed that I can share. She has given me some amazing advice with my decorating in the last 6 months or so (she actually answers me when I email her with a decorating question!) If you have a chance to check out her blog, please do. I love her decorating style, and she is really a nice person too.
PS~ If you go to her blog, be sure to check out her newly decorated black master bathroom with a red claw foot tub. Her bathroom is gorgeous!!! Here is the link to her Master bath post:
Monster Project: The Master Bathroom FINISHED!
OK, back to my pantry..........After I got the idea from Tabatha to use stripes, I decided to ditch the quatrefoil design and use a combination of stripes and stenciling for the pantry walls.
I came up with the general idea of how I could make the stripes and the stencil work together, and I went to work taping off my walls for the stripes.

Then I painted every other stripe gray.

After I pulled off the tape, I had my basic stripe design!!!

I had to do a little damage control here. The closet walls are smooth, and I don't think I gave my white wall paint enough time to cure before I applied the tape. Note to self: let the wall paint dry overnight before applying tape!

No big deal, I just repainted the white wall color, and touched up the stripes. It really doesn't have to be perfect, after all.......it's a closet!!! Most of the walls won't be seen after we add the shelves back in and fill the pantry with food.
Stay tuned for Part 2 of my pantry re-do, coming soon. At this point I have most of the stenciling done. It looks good, if I do say so myself!
We still need to add linoleum or some type of covering for the floor of the closet, more shelves, a spice rack, and bins for my potatoes, etc......
Since I need Tim's help with some of the bigger stuff, like the shelves and the linoleum, it may be a week or two before I get to the finish point. Hopefully he will have some time this weekend to help me.
No comments:
Post a Comment